
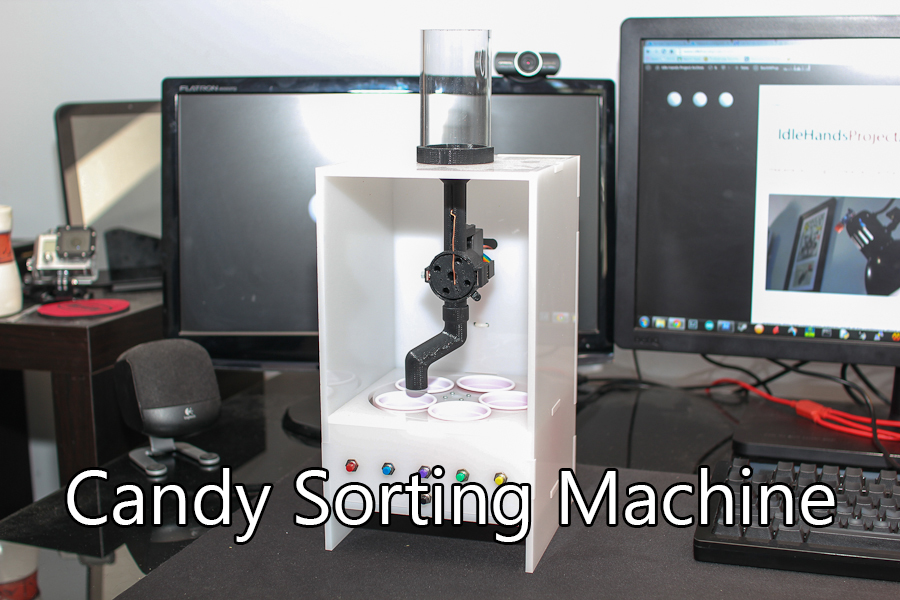
Every so often while browsing the internet I will come across a project that I absolutely have to make. When I stumbled upon IVC’s Candy Sorting Machine, this was absolutely the case. When my girlfriend eats skittles, she does so by colour – don’t ask me why, she just does it that way. When I watched the video of the candy sorting machine on YouTube, I knew it was going to be the perfect gift for my girlfriend for her birthday. Since this was going to be a gift for someone I really wanted to create it as if it was a consumer product in terms of design. I wanted it to be simple to use and designed so anyone can just turn it on and and it will sort. Video and pictures after the Jump!
I started by importing the sorter design files found on IVC’s website into my favourite CAD software. I liked IVC’s design, but I had an idea to clean it up a little so that more of the components could be hidden. Instead of having a rotating hopper I chose to modify that part of the design to use a rotating platter with the cups embedded in it. This not only would hide the lower servo but it would also allow the user to select which colour of the skittles would be forward after they have been sorted so you don’t have to reach to the back of the machine to get a colour. At my current place of work I have access to a laser cutter, and since I had a new skill in designing cases out of acrylic (thanks work), I figured this would be a great way to achieve a nice clean design. Here is what I came up with:
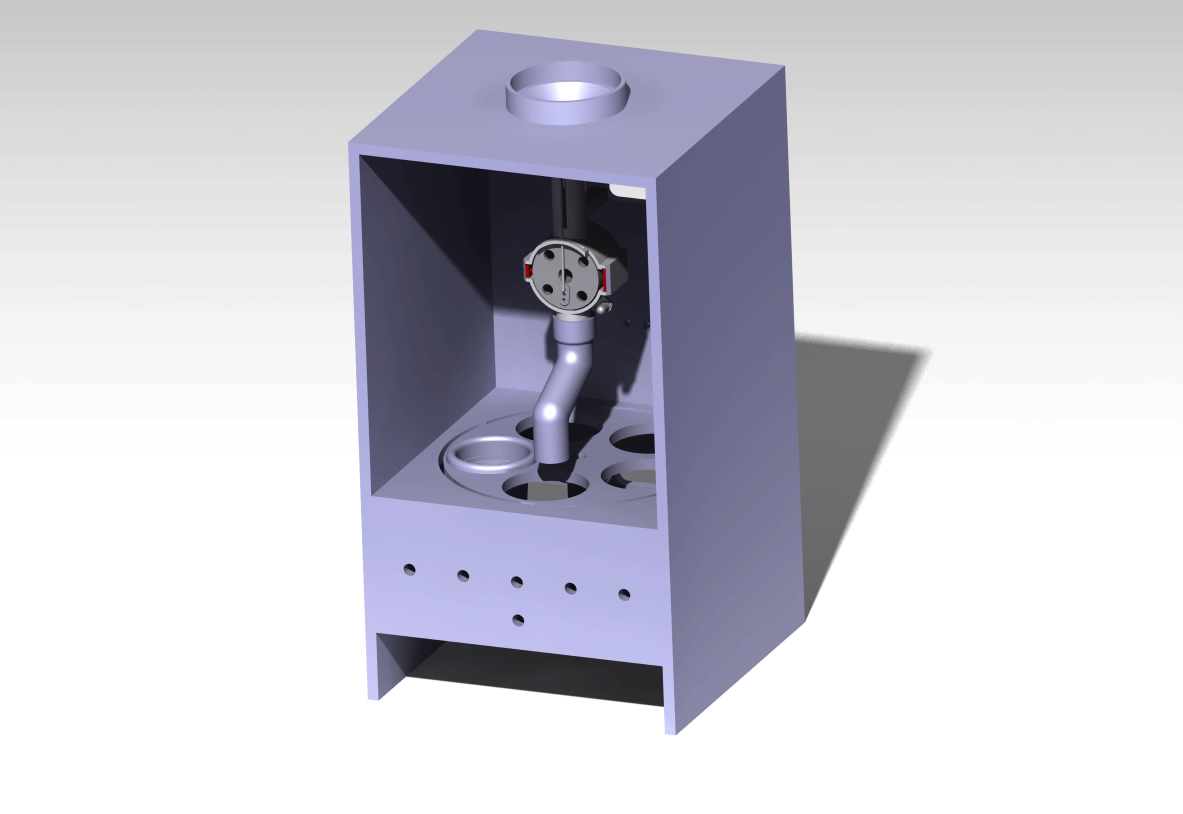
Snap together acrylic case design.
After I had the case laser cut out of the acrylic sheets, I then had to 3D print the sorting pieces. Most of the design was used from IVC, but I had to do a couple of modifications to the sorter and the hopper to fit in with what I had imagined. Here are the printed parts. I may have been printing some #PIDDYBOT chassis as well… Haha

3D Printed Parts
Once I had it assembled all of the components I began working on the circuit board. Unfortunately since I was on a tight deadline (my girlfriends birthday) I didn’t document the circuitry very much, and I also had to omit the RGB LED because I had bigger plans for it that I couldn’t get around to – Future revisions! Basically it was an Arduino Pro Mini with some headers for the I2C device, 2 servos, 6 buttons, and the analog IR sensor. The colour sensor I chose was the now discontinued ADJD-311. More on that below.

Hiding PCB.
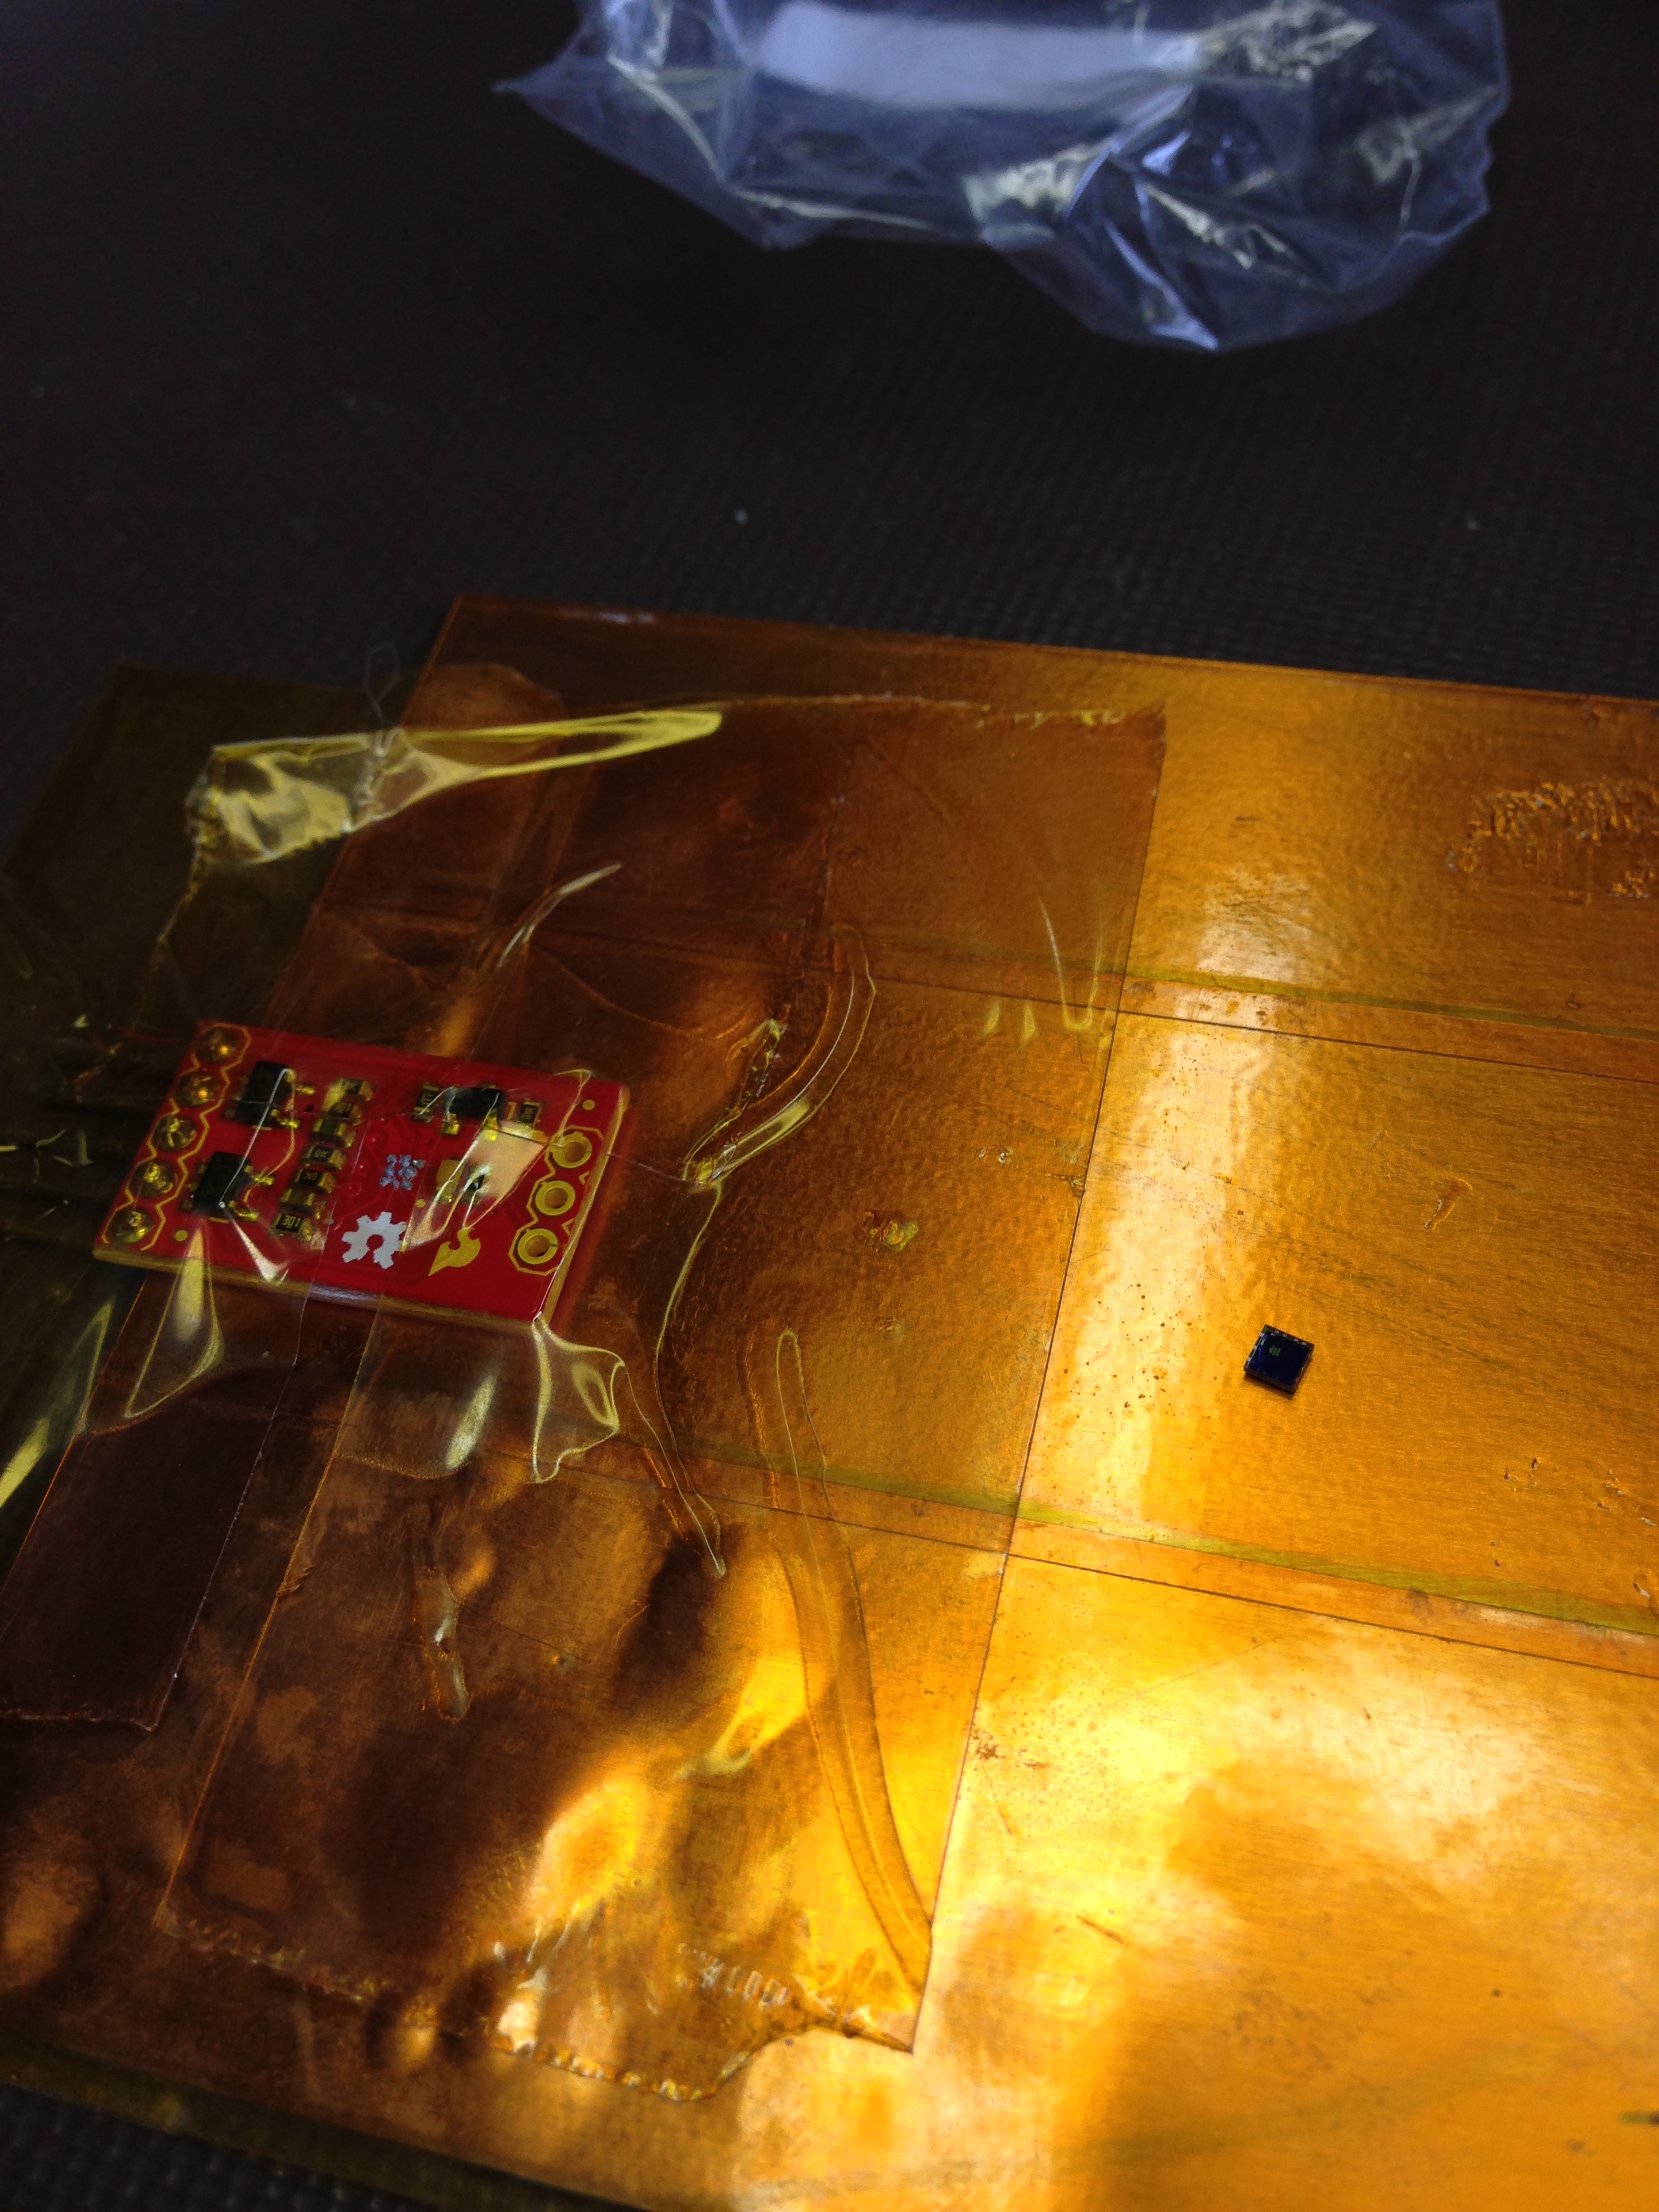
Candy projectiles. Thats something you don’t hear often and also turned out to be one of this projects downfalls. If I had more time I would have done some modifications to the hoppers design. The area where the candy comes down and gets read by the colour sensor will sometimes cause a piece of candy to catch on an edge and either break or snap back. If they snap back hard enough they would fly up and hit the color sensor. There was only so much the sensor could take and eventually it ended up no longer responding to the Arduino. Since these color sensor boards from SparkFun are no longer available I had to end up buying just the sensor and trying to solder it on. Here comes the crash course in BGA soldering! This of course happened all the weekend right before the birthday.

Colour Sensor Up Close – Tiny!
Some re-flow action.
Thankfully my work just purchased a reflow station. It worked! This leads me to another issue. The colours of the skittles I was sorting were really not ideal. My girlfriend enjoys the Berry skittles the most, so naturally I would want the machine to work with those. The problem with the berry skittles is that there are three colours that are are very similar, purple, red, and pink. This took a lot of trial and error to get the settings good enough to differentiate between them. It still will have trouble if it reads the “S” on the skittles or they have a defect. Those skittles are put in the Purple bin because, well, nobody likes purple.
This was one of the first projects I really wanted to not “hack” together and make look nice, and I think it turned out well. I managed to finish it just in time to give it to her for her birthday and she was really surprised. We managed to sort a couple bags of candy but then the sensor broke again. I’m working on replacing the sensor once again, but this time I will place hot glue around it in hopes that it will deflect the candy before it hits the sensor.
Here are the pictures of the final setup:
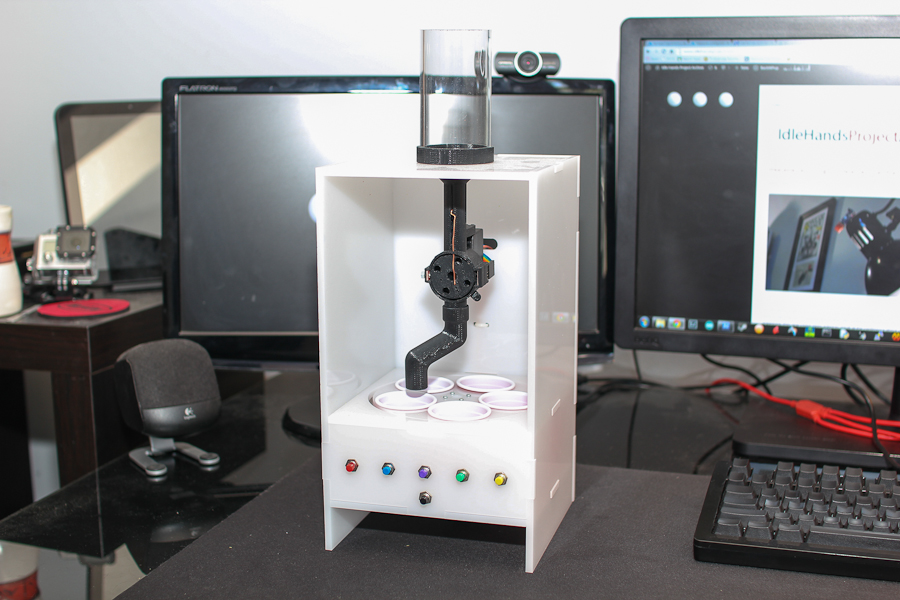
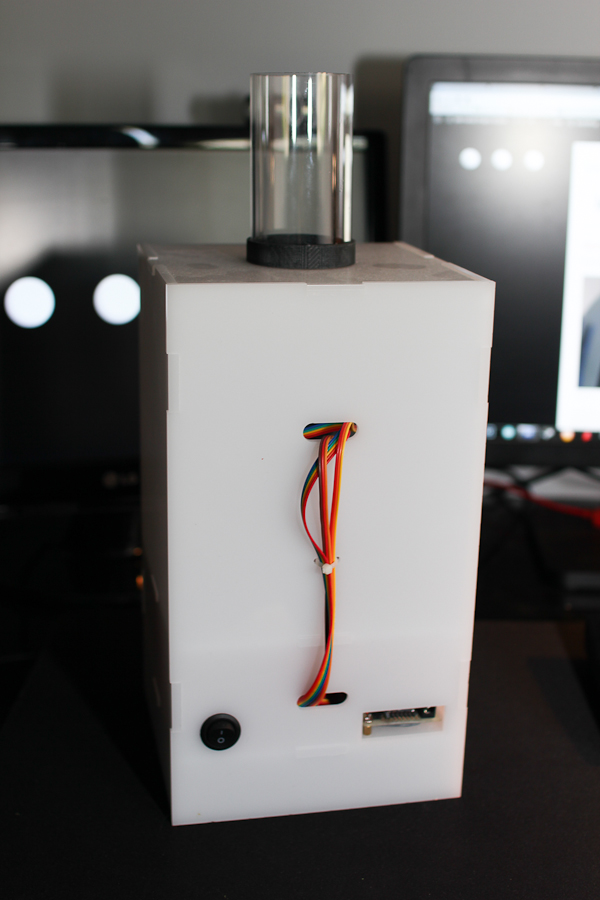
Assembled Front
Assembled Back
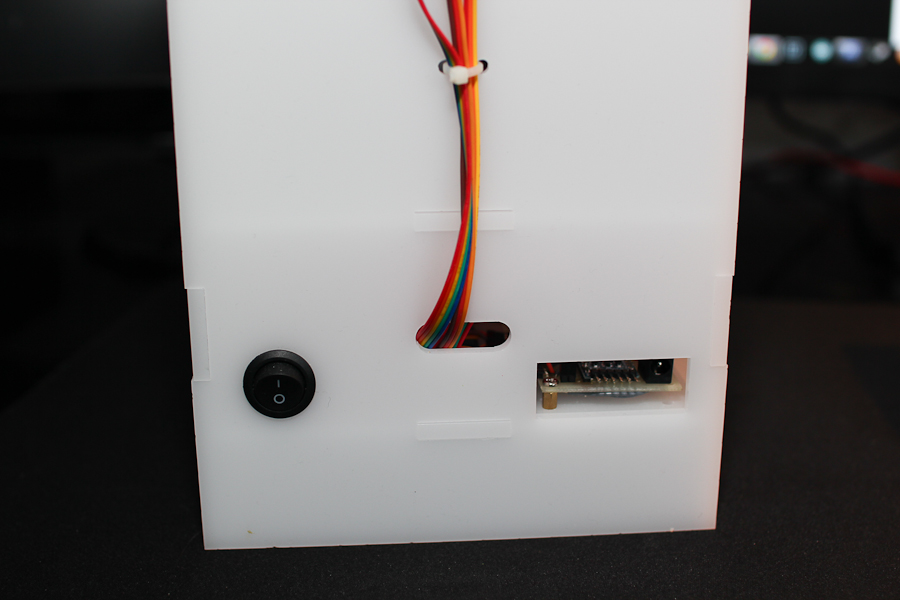
Programming Port
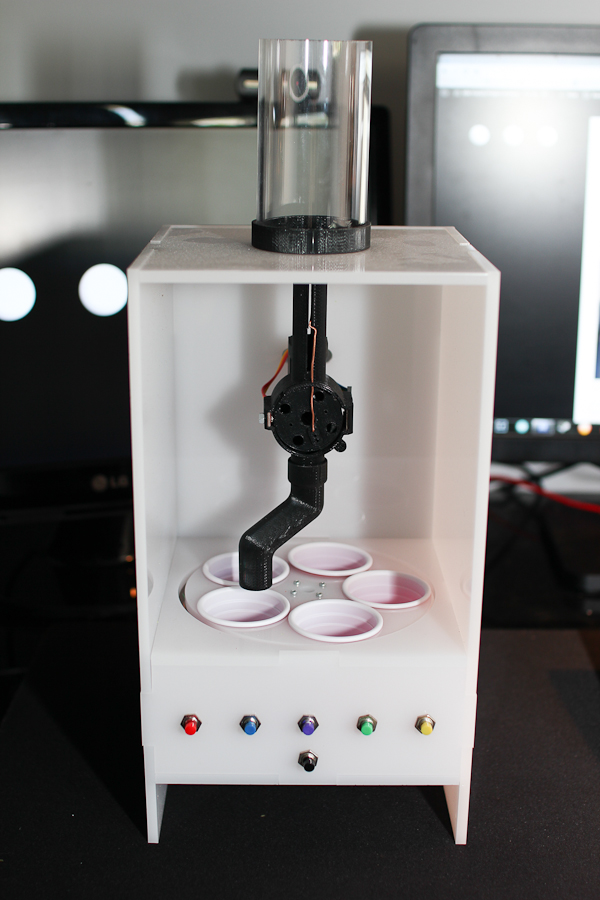
Assembled Front 2
I would like to thank IVC for making this project available. If you would like to create my version of this project I will post the DXF files for the case and the changed CAD files for the sorting part.
Case DXF Files: CandySortingMachineFrame